Start using Pixiu#
You can start using Pixiu once you have your Requesting Access and Creating a Bucket activated. To access a bucket located in Pixiu, you need to connect through a client application that supports the Amazon S3 protocol. There are many options on the market. We provide support for the solutions described here below. We recommend to use the VUB Pixiu Drive as it is the easiest solution.
In general for any client, you need the following info:
the hostname is pixiu.vub.be.
both path style and DNS style are supported.
both signature v2 and v4 are supported but preferably you use v4.
VUB Pixiu Drive#
VUB Pixiu Drive is a VUB branded version of Mountain Duck. It includes a license and a custom profile to connect to Pixiu. Once it is installed and configured, a link to your Pixiu resources will appear in the file browser of your system.
Download#
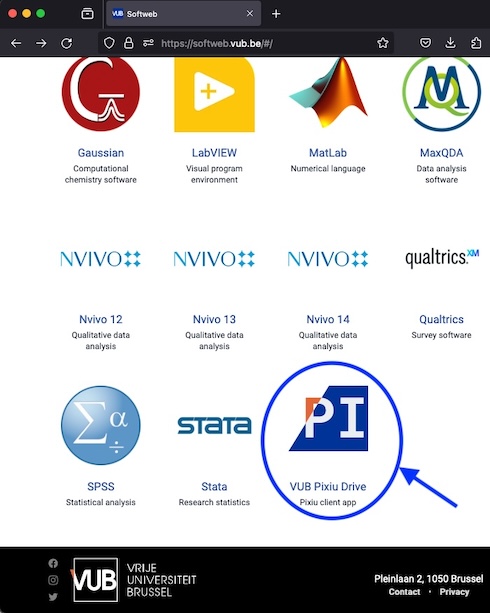
Go to VUB Softweb
Scroll down the page until you see VUB Pixiu Drive and click on it.
Note
Alternatively, you can find VUB Pixiu Drive also in the Company Portal App on your desktop and directly install it from there.
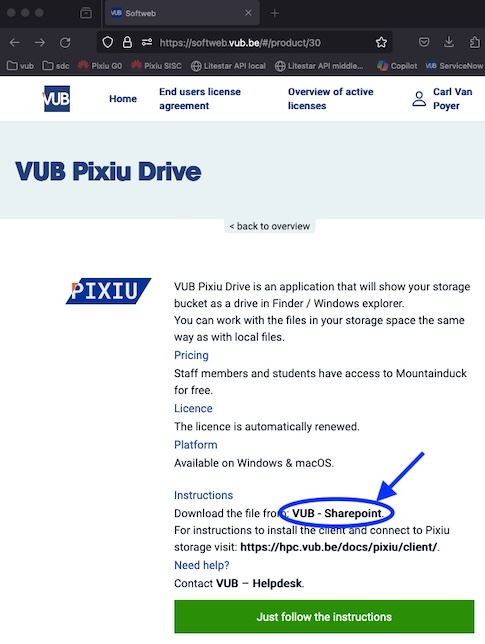
The description page of VUB Pixiu Drive will open. Read it and under Instructions, click on VUB - Sharepoint to download it.
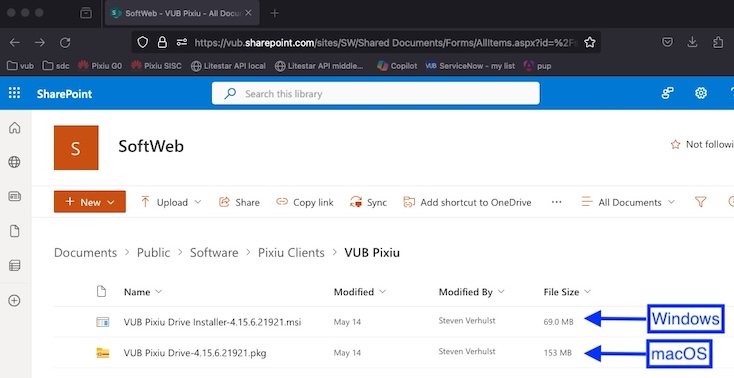
Once the download page opens, pick the file corresponding to the operating system in your computer:
MS Windows: download the file with the
.msiextensionApple macOS: download the file with the
.pkgextension
Installation#
Download the VUB Pixiu Drive for macOs from VUB Softweb
Open the VUB Pixiu Drive pkg file by double clicking
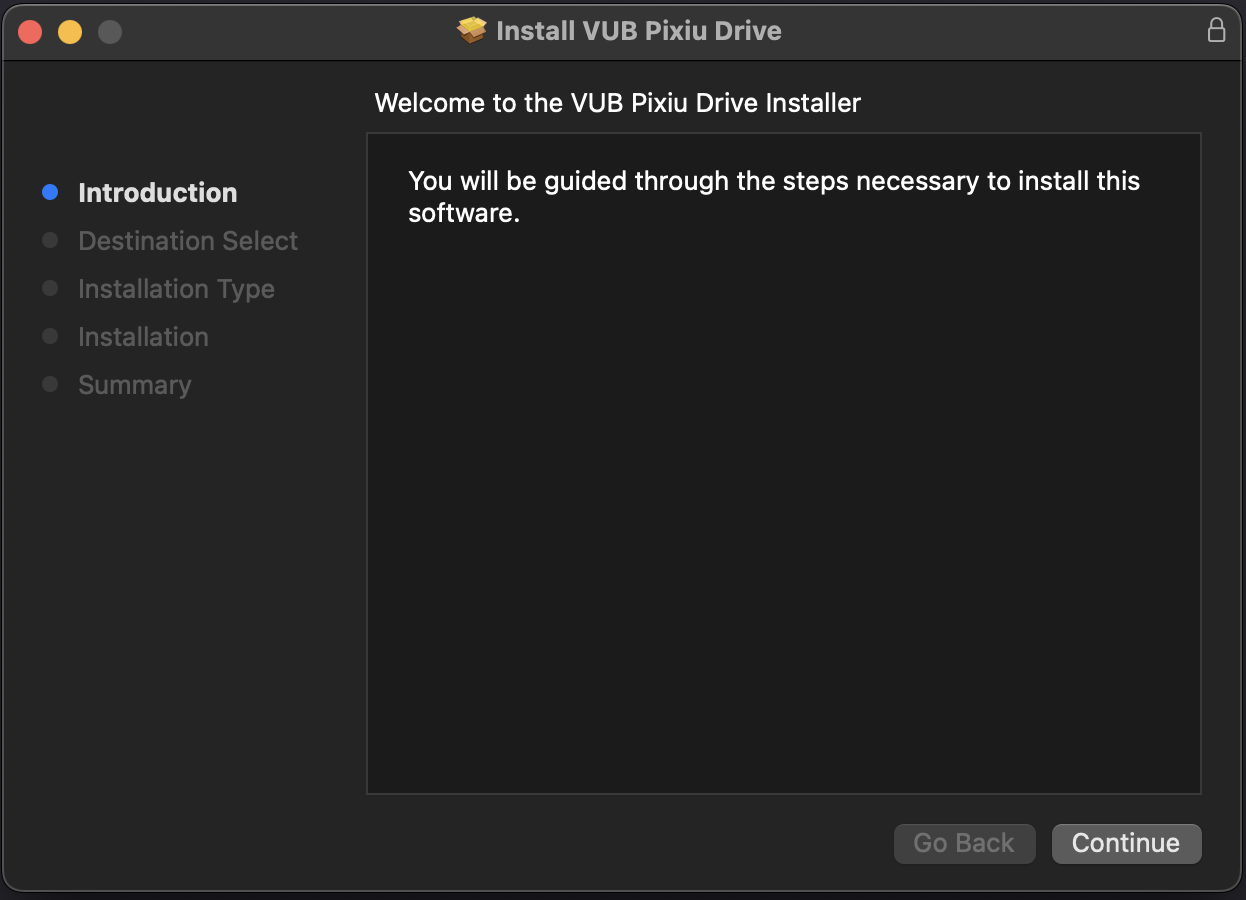
Click Continue
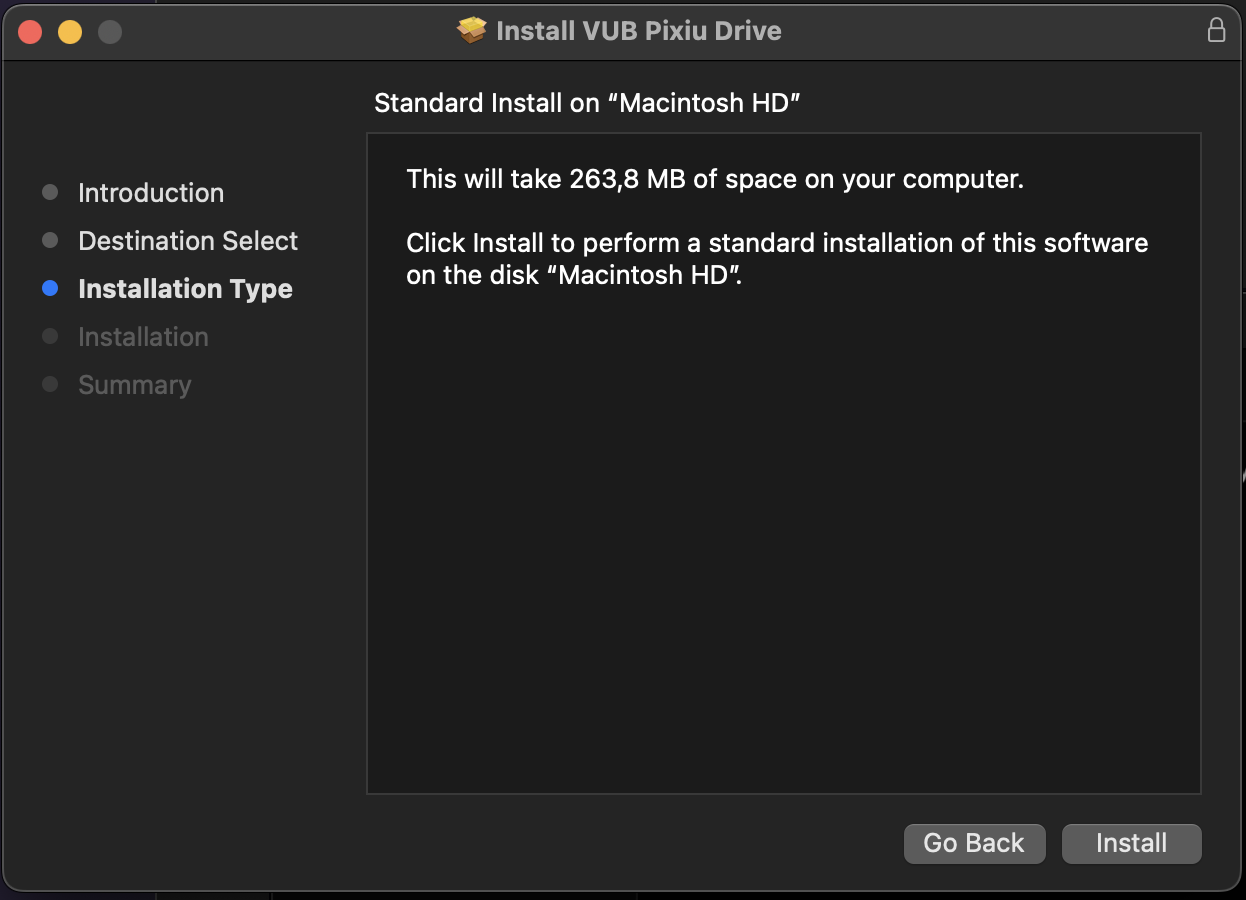
Click Install
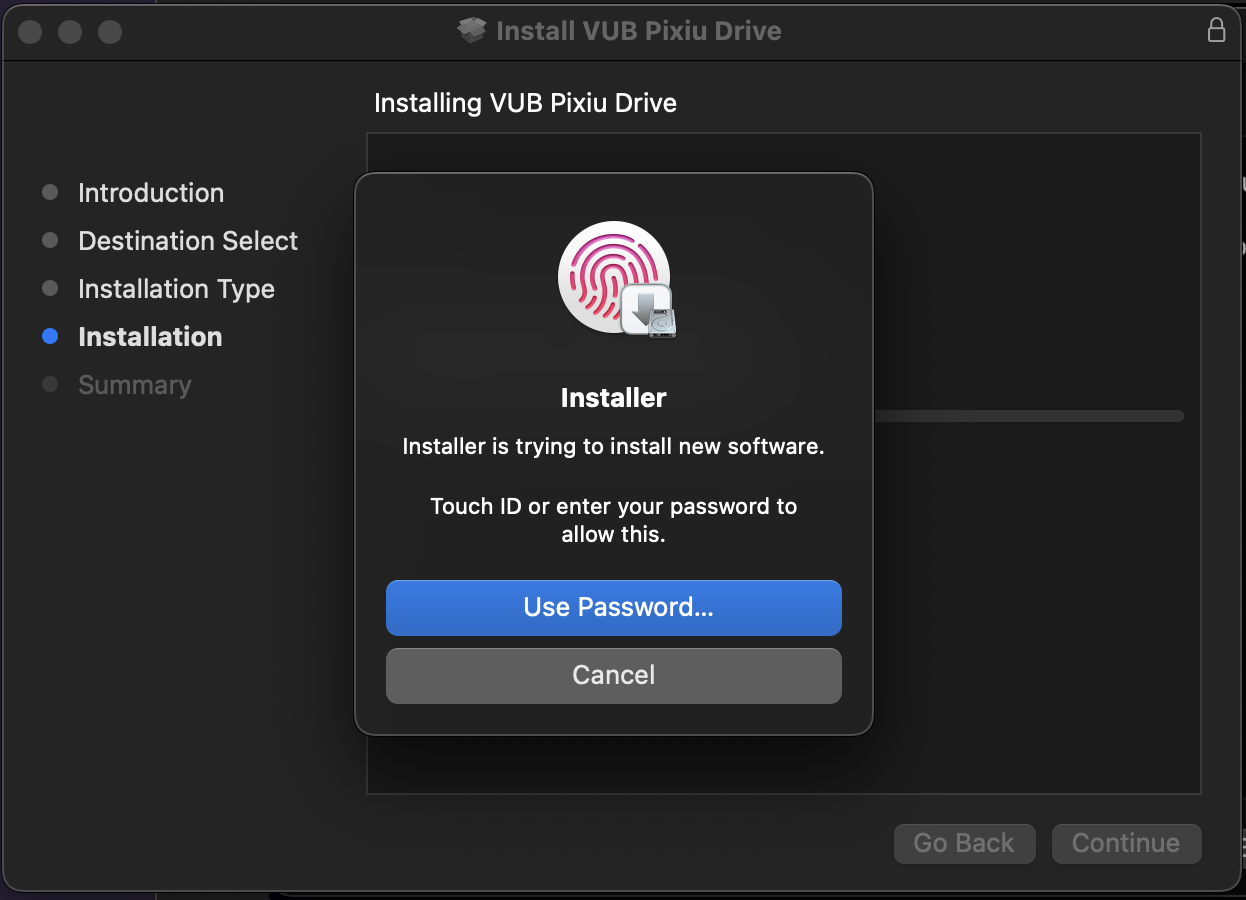
You will need to use Touch ID or provide your password
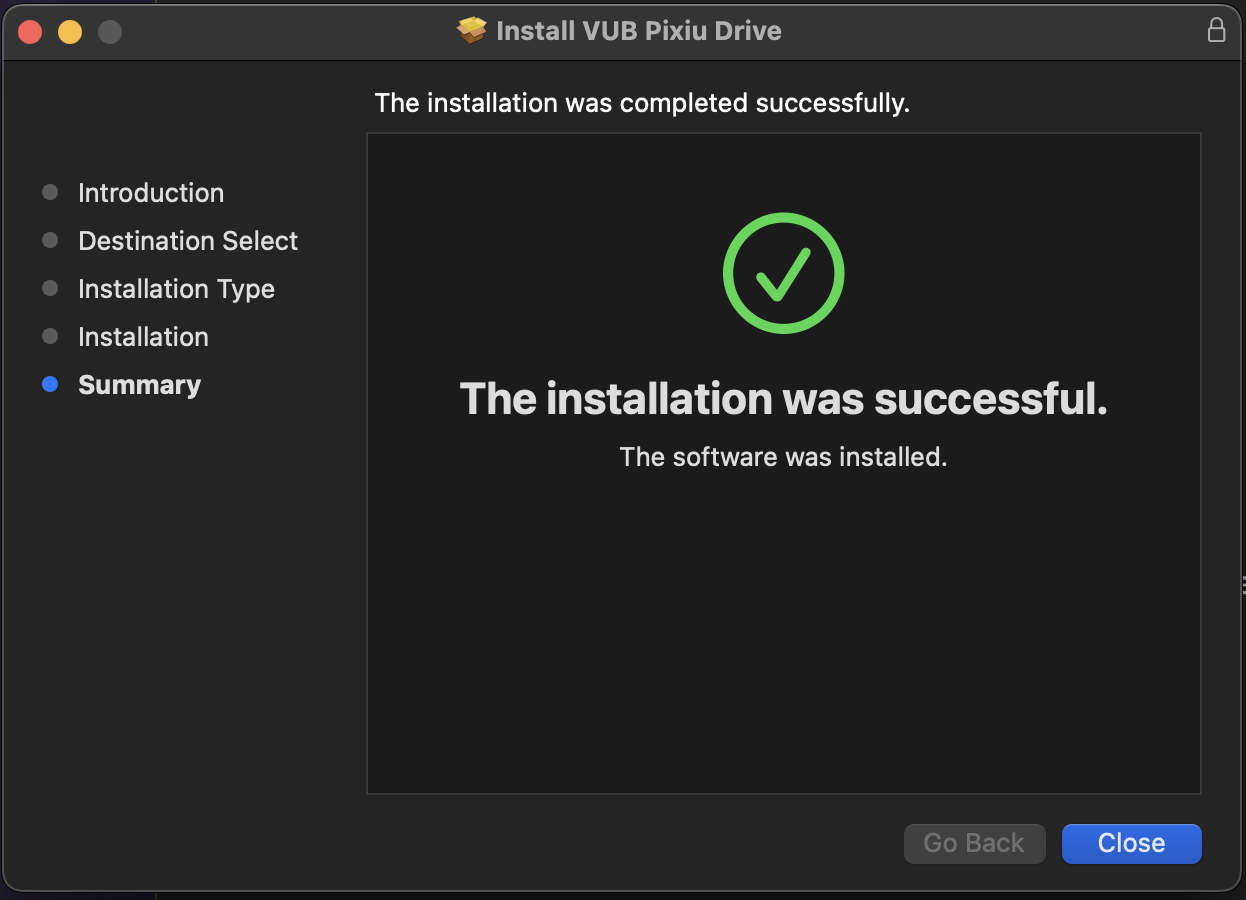
Your VUB Pixiu Drive client is now installed! You can close the installer.
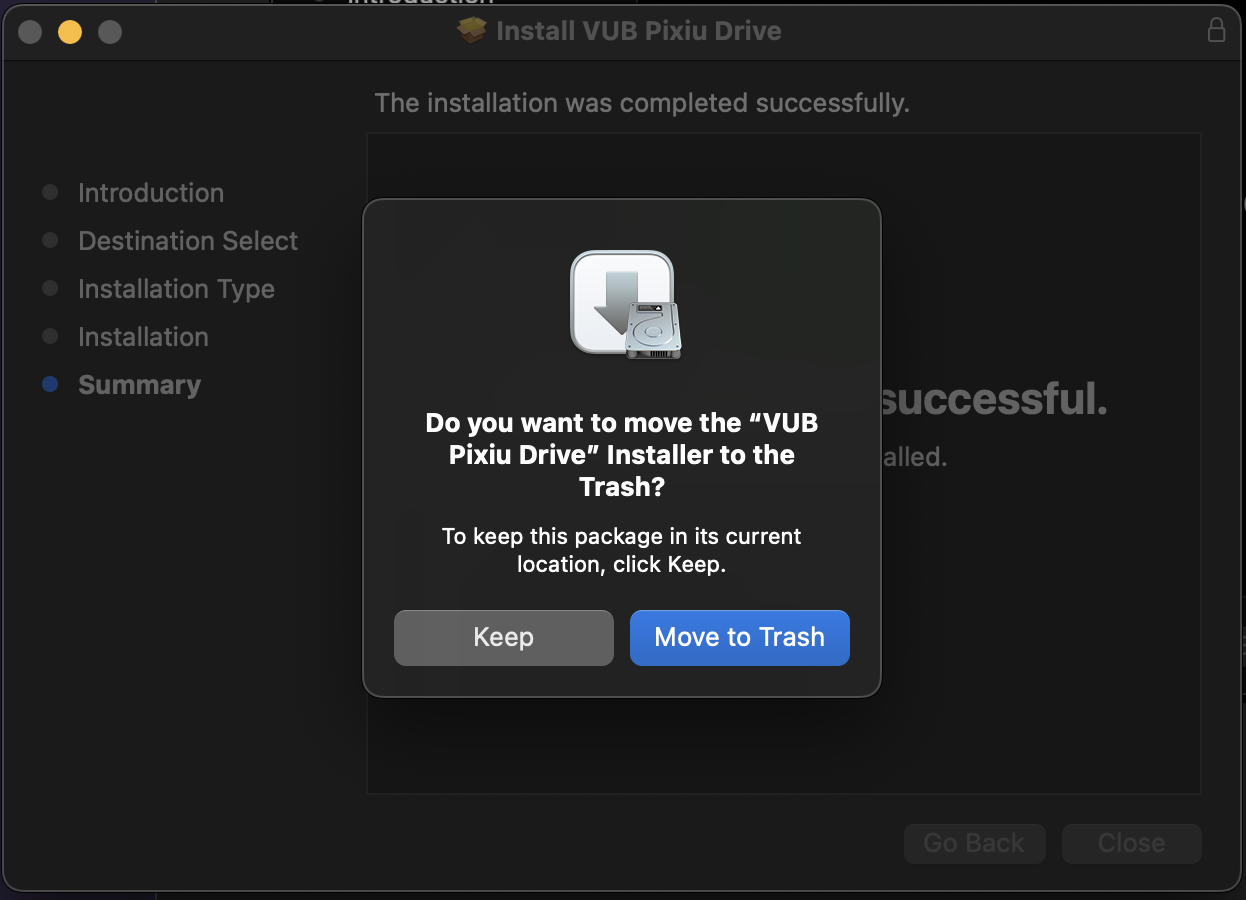
Move the installer to the Trash
Download the VUB Pixiu Drive for Windows from VUB Softweb
Open the VUB Pixiu Drive msi file by double clicking
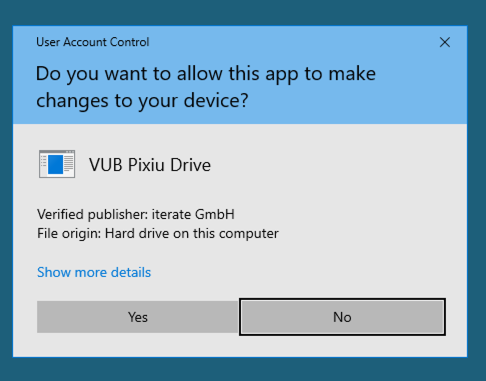
Click Yes to install
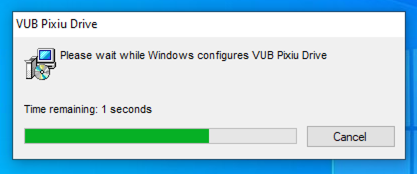
The VUB Pixiu Drive client is now being installed. There is no notification after the installation.
You can now open the VUB Pixiu Drive client
Configuring the client#
This will guide you through the configuration of the VUB Pixiu Drive client.
Open the VUB Pixiu Drive client from Applications, a VUB icon will appear in the Menu Bar at the top of the screen.
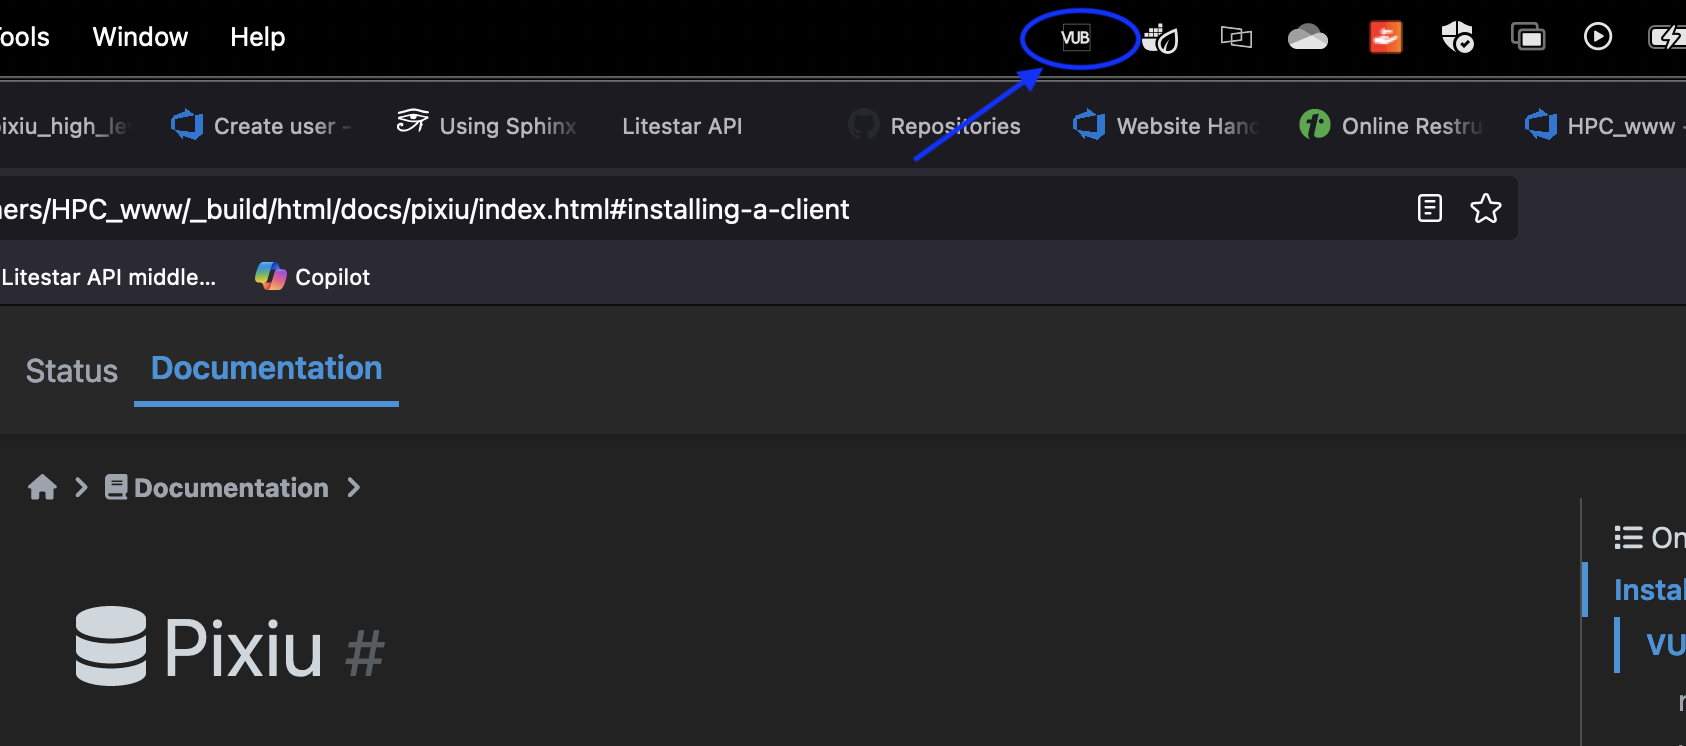
Note
If you have a lot of icons it is possible that the VUB Pixiu Drive icon is hidden, try changing to an app with less menu items at the top (like Firefox)
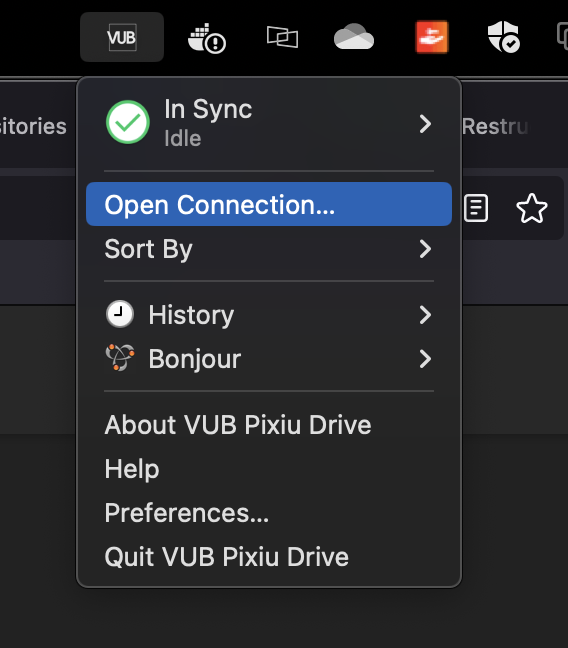
Click on the VUB icon in the Menu Bar and then on Open Connection
Complete the profile and add your Access Key and Secret Access Key
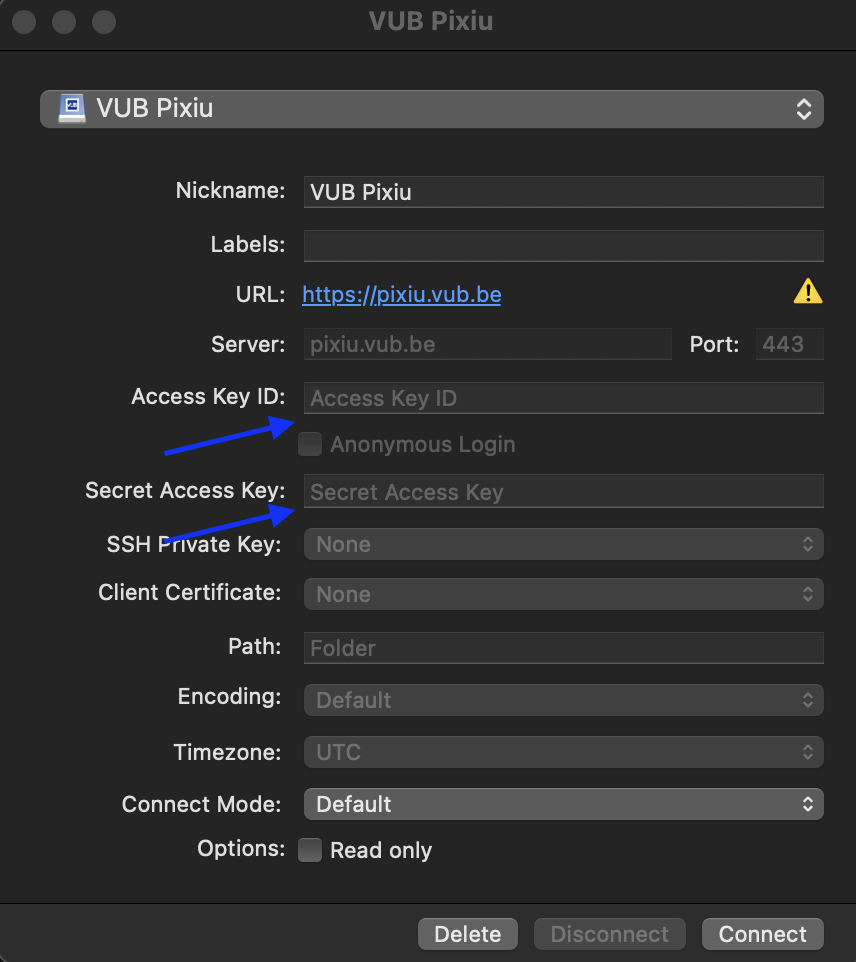
Click Connect
Note
Make sure you are on campus or connected through the VPN of VUB, otherwise it is not possible to connect to Pixiu.
Optional You can add the secret to your keychain when prompted
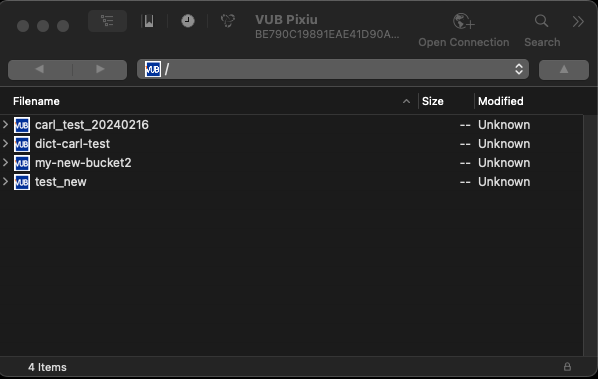
The VUB Pixiu Drive will now have mounted a new location in Finder
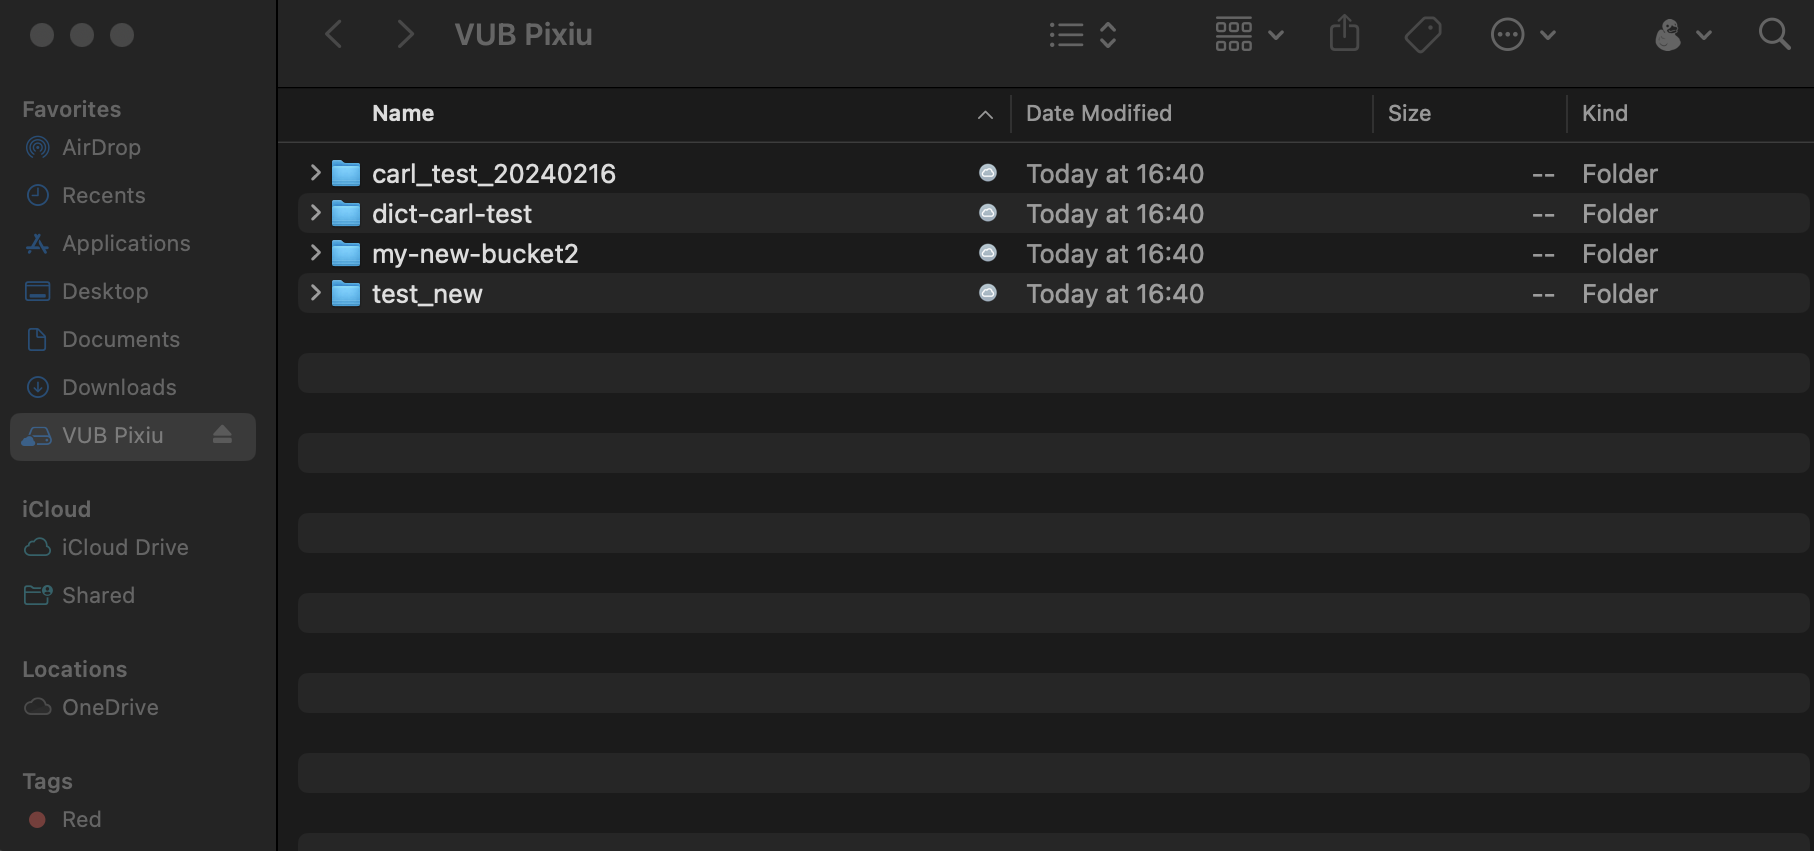
Your client is now configured, you can see all the buckets in your account.
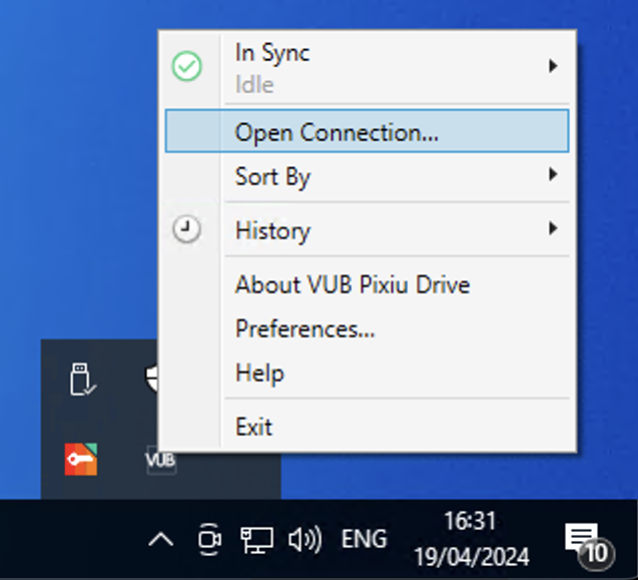
Open the VUB Pixiu Drive client from the start menu, a VUB icon will appear in the Task Bar at the bottom of the screen.
If you have a lot of icons it is possible that the VUB Pixiu Drive icon is hidden, click on the little arrow to show all the icons

Click on the VUB icon in the Task Bar and then on Open Connection
Complete the profile and add your Access Key and Secret Access Key
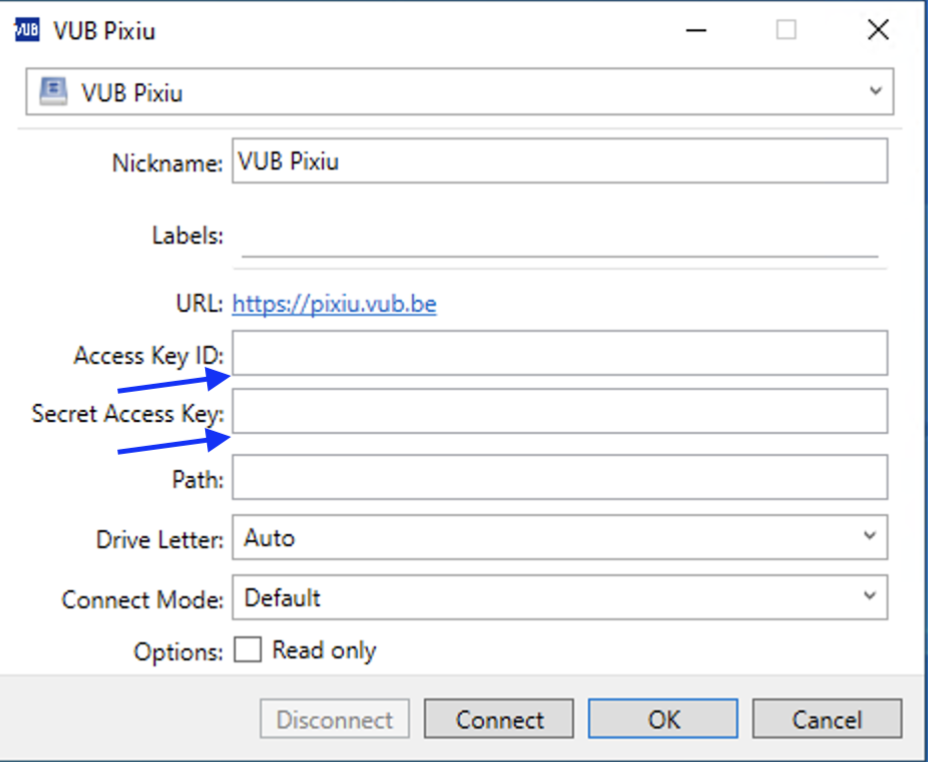
Click Connect
Note
Make sure you are on campus or connected through the VPN of VUB, otherwise it is not possible to connect to Pixiu.
The VUB Pixiu Drive will now have mounted a new drive location in windows explorer
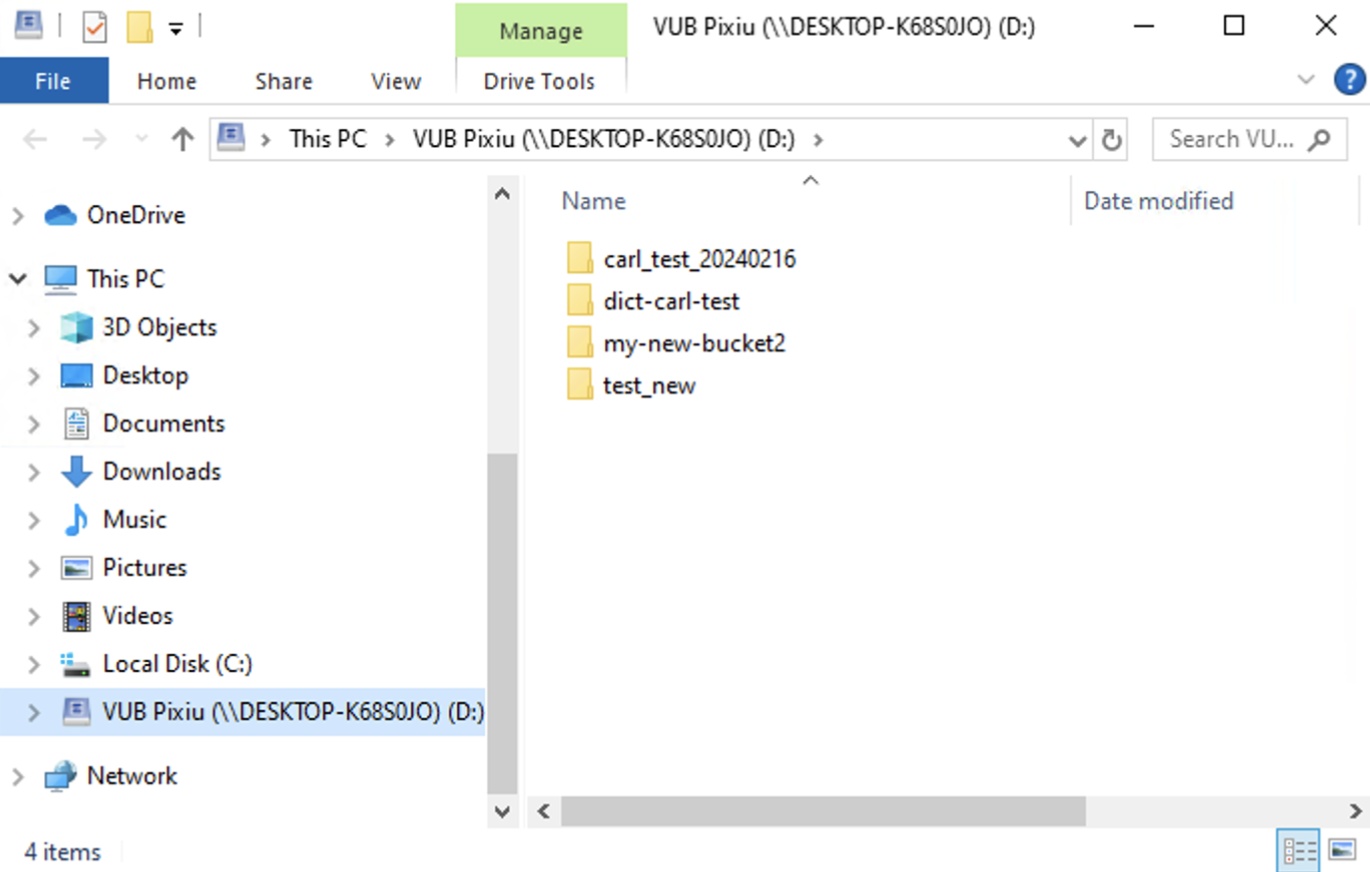
Your client is now configured, you can see all the buckets in your account.
Cyberduck#
The Cyberduck installer is a custom version of Cyberduck. It includes a license and a custom profile to connect to Pixiu.
Download#
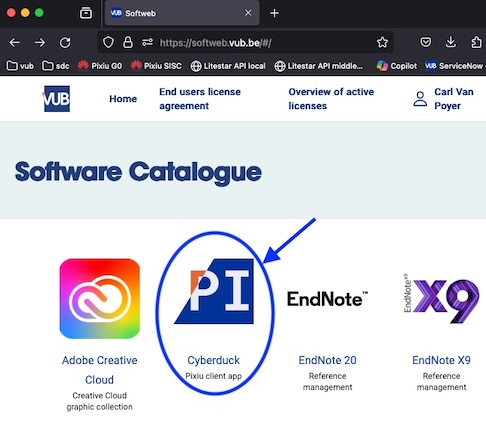
We provide a custom installer of Cyberduck on VUB Softweb
Click on Cyberduck
Note
Alternatively, you can find Cyberduck also in the Company Portal App on your desktop and directly install it from there.
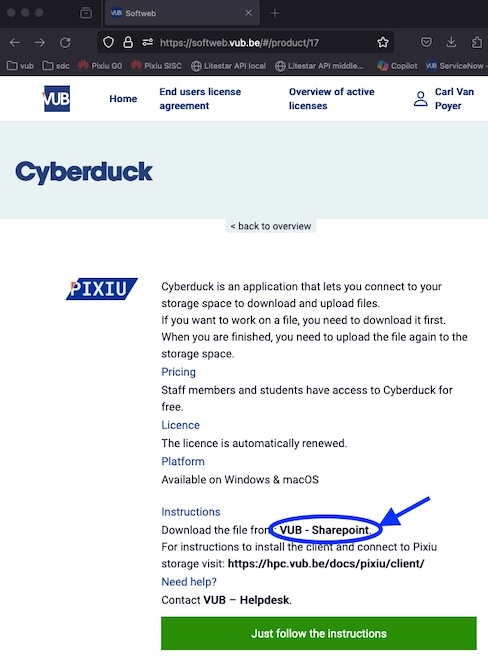
The description page of Cyberduck will open. Read it and under Instructions, click on VUB - Sharepoint to download it.
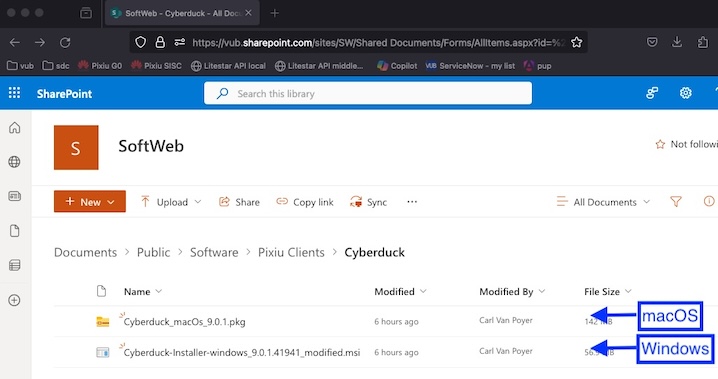
Once the download page opens, pick the file corresponding to the operating system in your computer:
MS Windows: download the file with the
.msiextensionApple macOS: download the file with the
.pkgextension
Installation#
Download Cyberduck from VUB Softweb
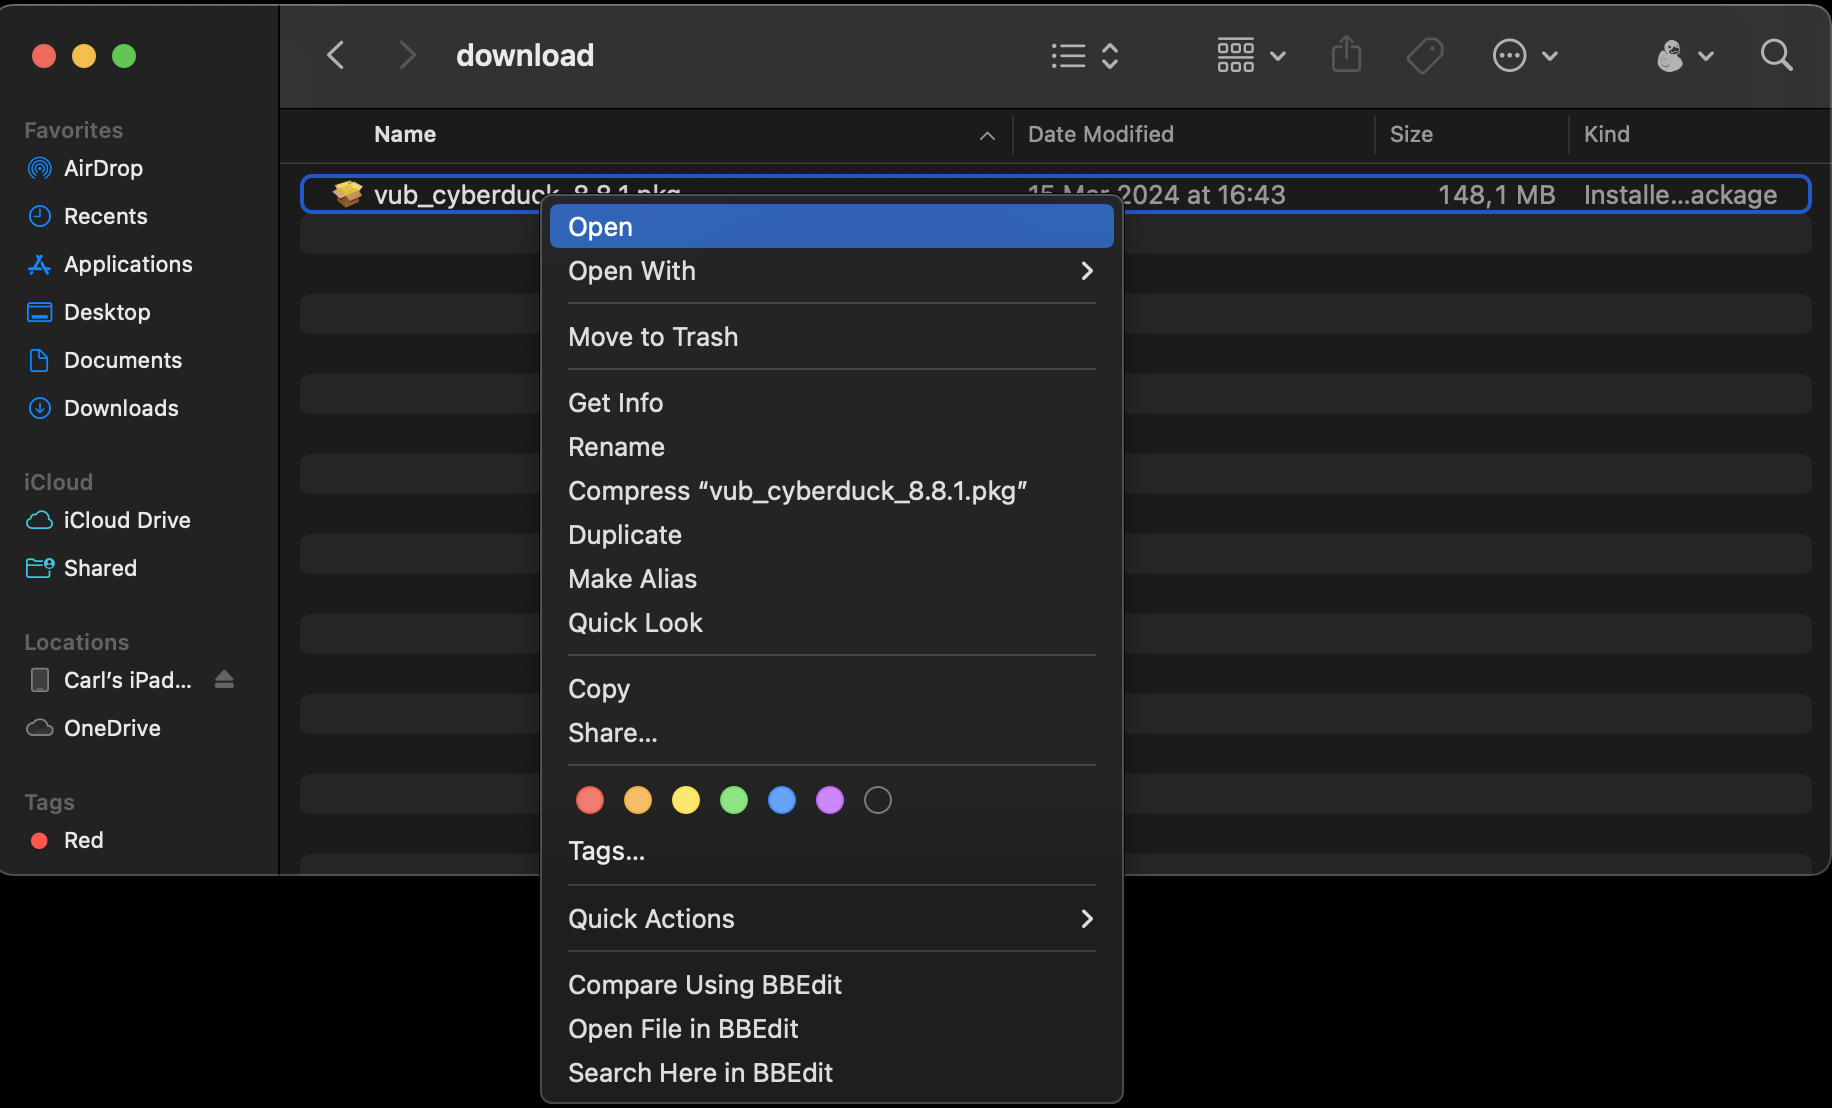
Open the Cyberduck pkg file by right clicking on the installer and selecting open
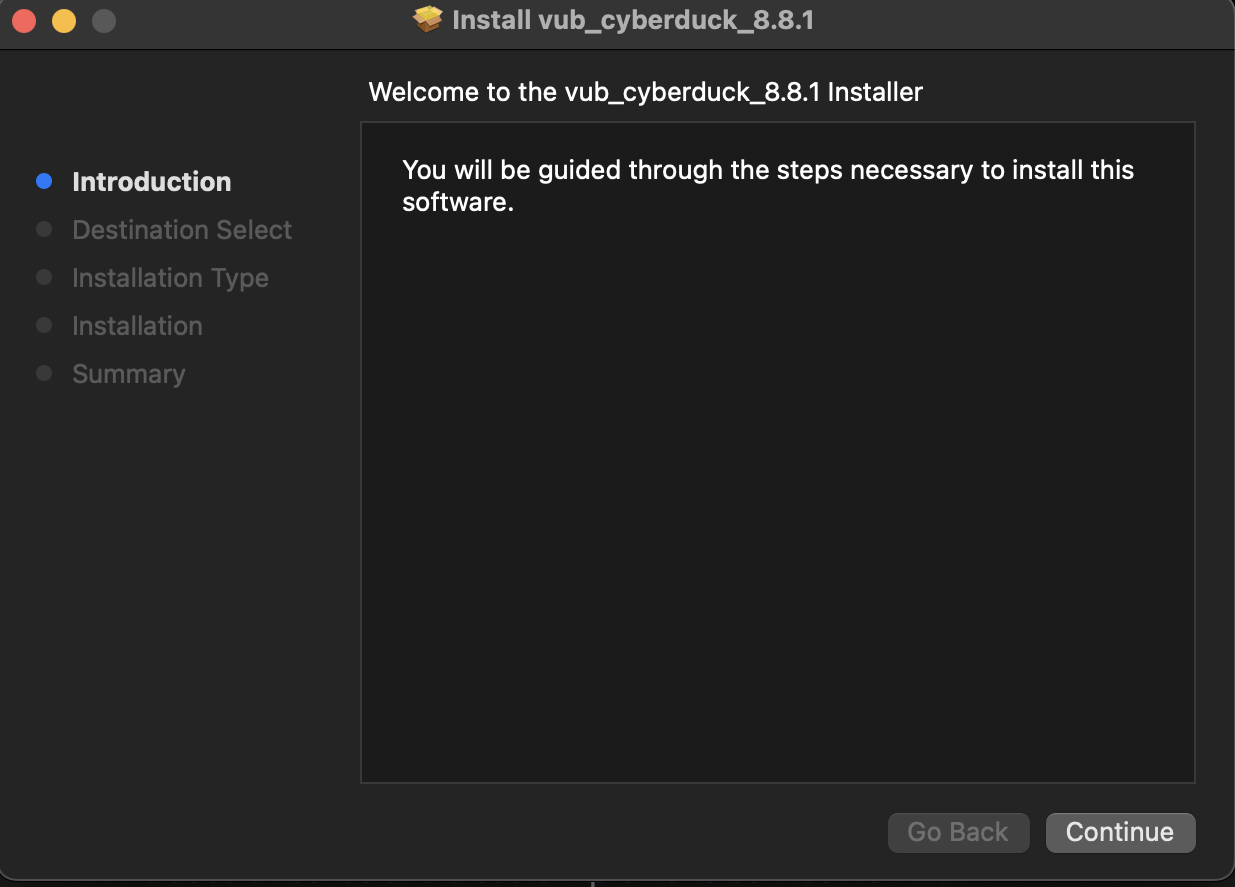
Click Continue
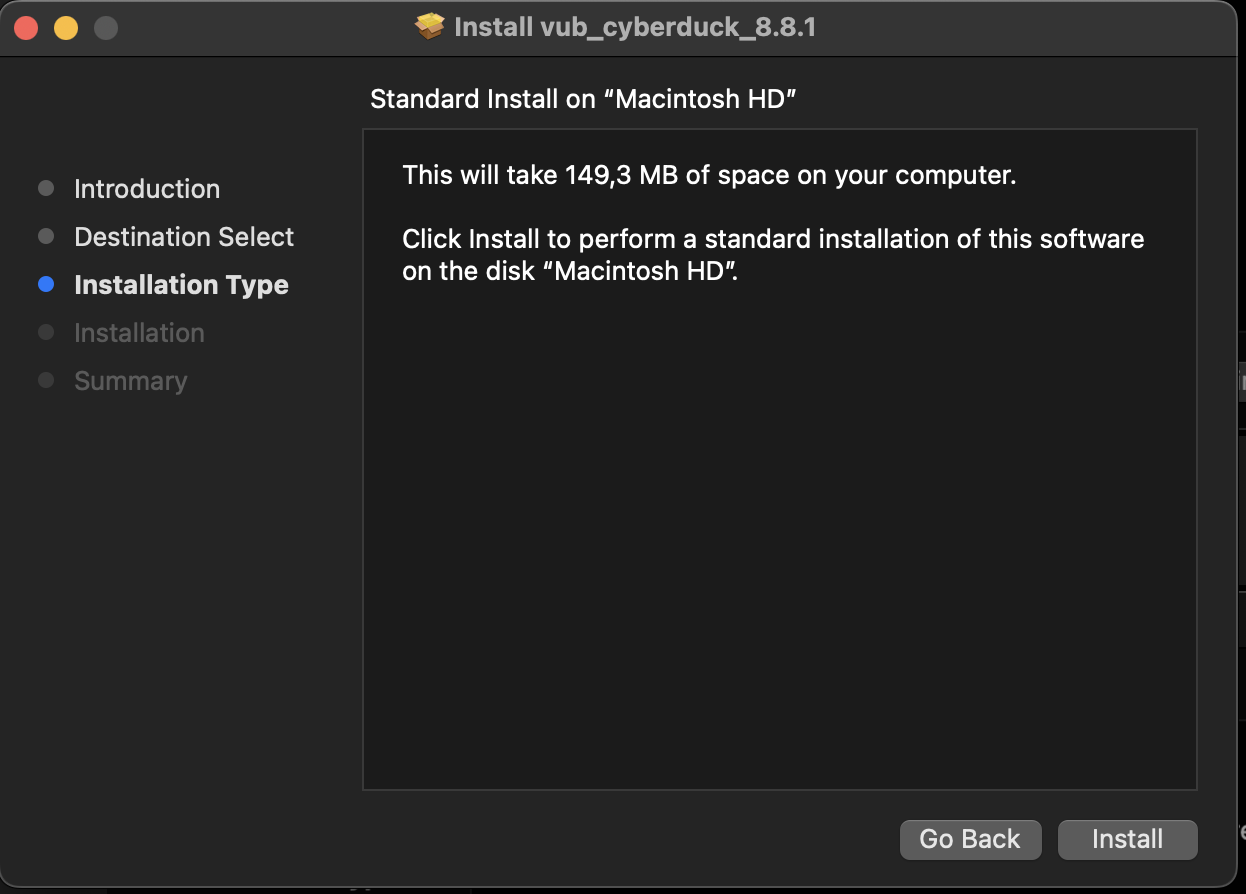
Click Install
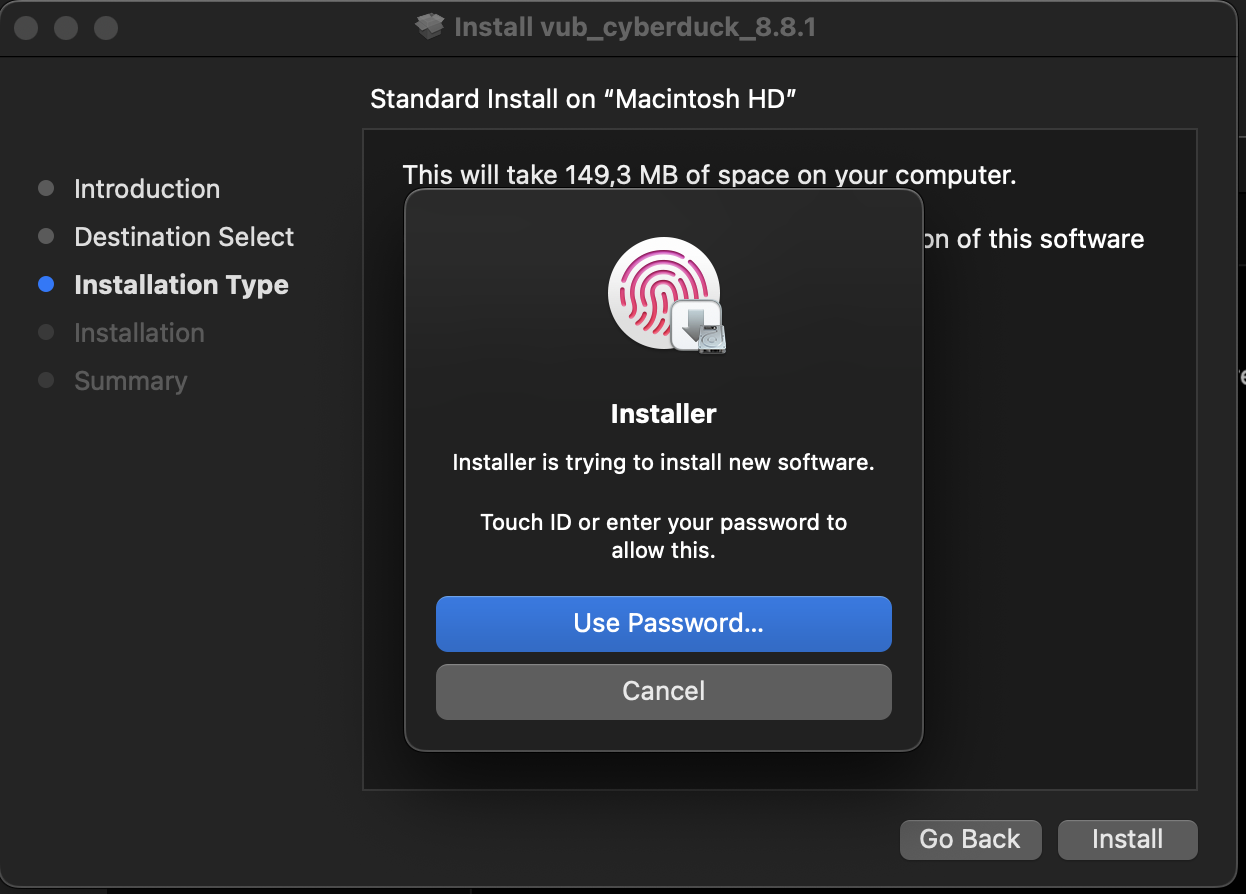
You will need to use Touch ID or provide your password
Your Cyberduck client is now installed! You can close the installer.
Download Cyberduck from VUB Softweb
Open the Cyberduck msi file by double clicking
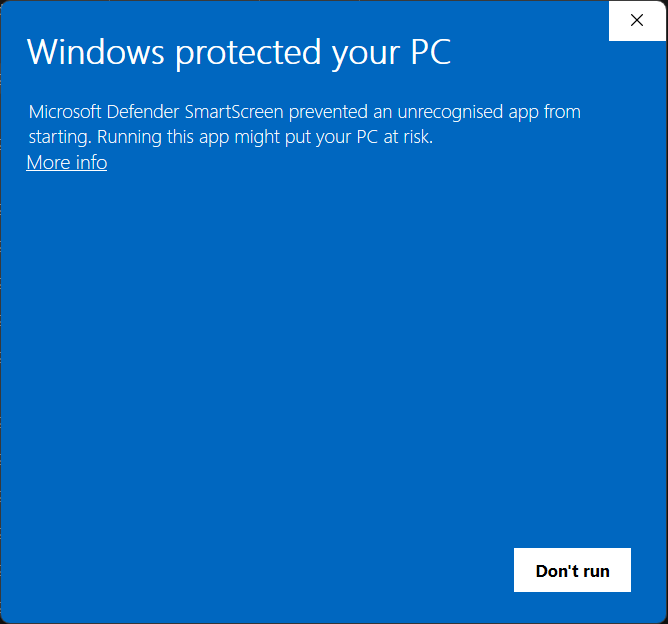
Click More info (the app is unrecognized because we made modifications to the installer ourselves)
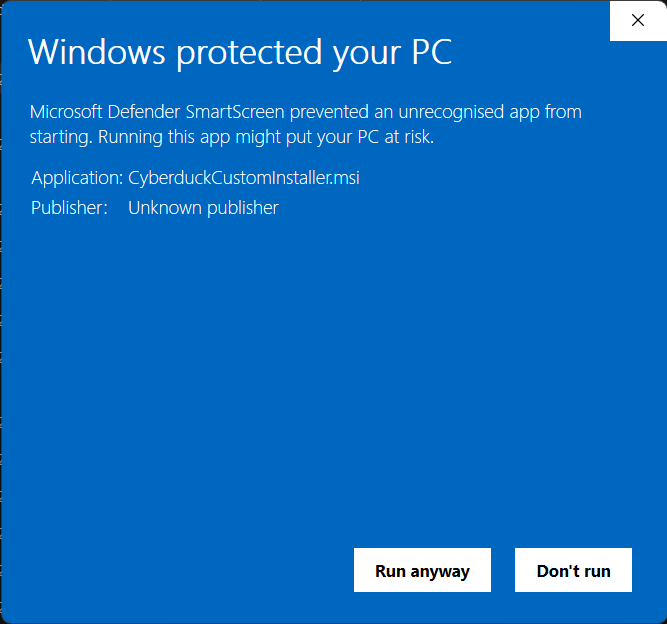
Click Run anyway
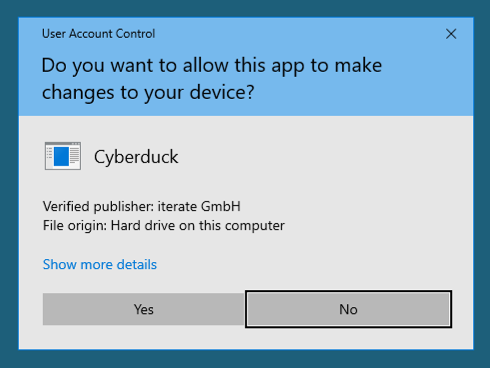
Click Yes to install
The Cyberduck client is now being installed. There is no notification after the installation.
You can now open the Cyberduck client
Configuring the client#
This will guide you through the configuration of the custom Cyberduck client.
Open the Cyberduck client from Applications
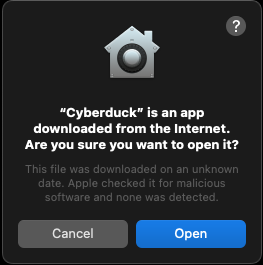
Click Open when asked if you want to open an app that has been downloaded from the internet
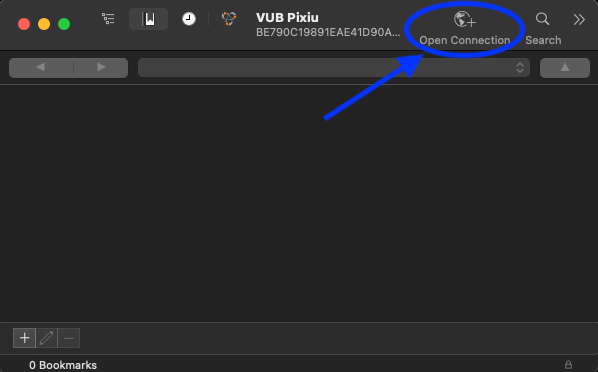
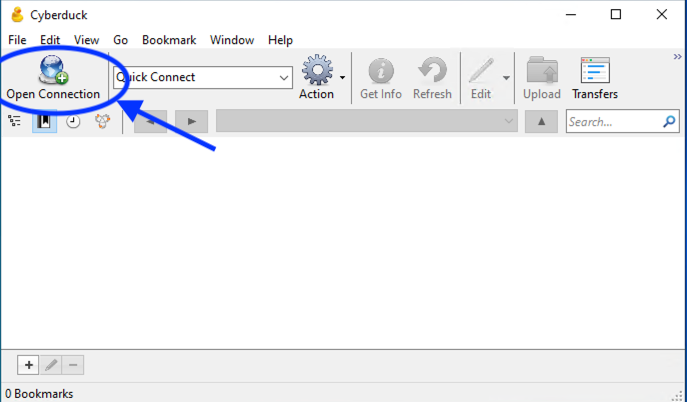
Click Open Connection
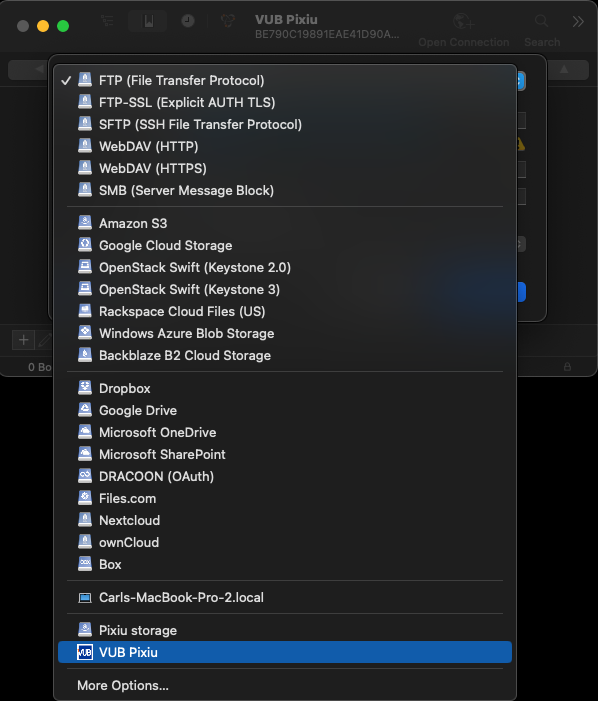
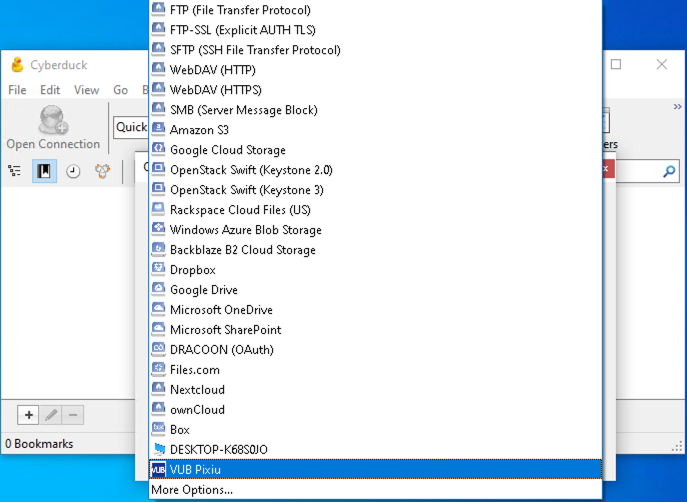
Click on the protocol list

Select VUB Pixiu at the bottom of the list (you may need to scroll down)
Complete the profile and add your Access Key and Secret Access Key
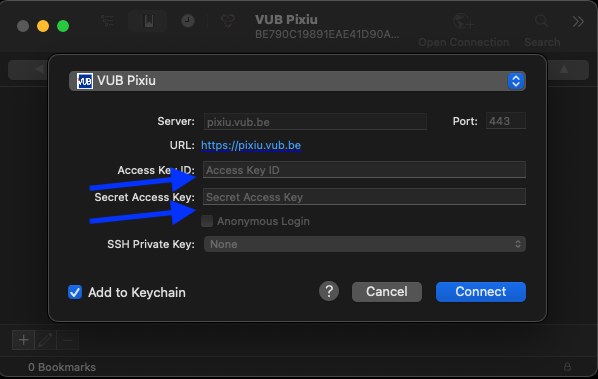
Click Connect
Note
Make sure you are on campus or connected through the VPN of VUB, otherwise it is not possible to connect to Pixiu.
Optional You can add the secret to your keychain when prompted
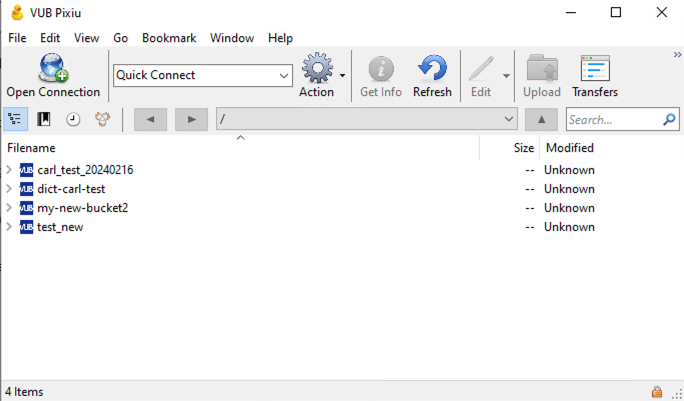
Your client is now configured, you can see all the buckets in your account.
Open the Cyberduck client from the start menu
The first time you open the client, it might take some time to start up
Click Open Connection
Click on the protocol list
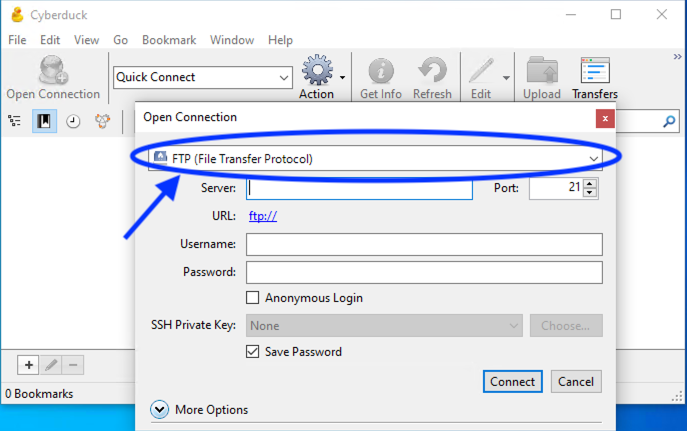
Select VUB Pixiu at the bottom of the list (you may need to scroll down)
Complete the profile and add your Access Key and Secret Access Key
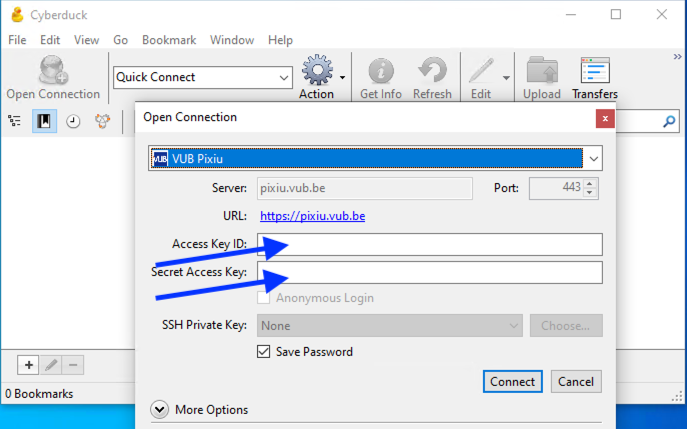
Click Connect
Note
Make sure you are on campus or connected through the VPN of VUB, otherwise it is not possible to connect to Pixiu.
Your client is now configured, you can see all the buckets in your account.
S3cmd#
S3cmd is a command line tool to access S3 buckets, such as those stored in Pixiu. It is written in Python and is system agnostic, so it can be used under Linux, Windows and macOS.
S3cmd is readily available in VUB-HPC clusters as well, providing direct interaction between our HPC cluster and the Pixiu storage. You can directly use the s3cmd command in Hydra without loading any additional software modules.
Installation#
Since S3cmd is a multiplatform tool, the preferred installation may differ depending on your platform. Please check the installation documentation of S3cmd for further details.
In general, the most simple method is to use pip:
pip install s3cmd
This will install s3cmd in your user account. You might also consider using a
Python virtual environment.
Configuration#
The configuration settings of s3cmd have to be set in its configuration file.
By default, it is located at ~/.s3cfg. The following configuration file
contains the minimum settings needed by S3cmd to connect to Pixiu:
[default]
access_key = YOUR_ACCESS_KEY
secret_key = YOUR_SECRET_KEY
host_base = pixiu.vub.be
host_bucket = %(bucket)s.pixiu.vub.be
If you are using S3cmd on Hydra, we recommend to add the following lines to increase the transfer speed.
multipart_chunk_size_mb = 256
Usage#
Some example commands using s3cmd:
View all your buckets:
s3cmd ls s3://
View a specific bucket:
s3cmd ls s3://mybucket/sub_directory/
Download a file:
s3cmd get s3://mybucket/file.txt
Upload a file:
s3cmd put file.txt s3://mybucket
Rclone#
Rclone is commandline tool to manage files on cloud storage, including S3 buckets. There is a GUI available called RcloneBrowser. Rclone is especially well suited if you want to transfer data between different cloud storage systems.
Installation#
Since Rclone is a multiplatform tool, the preferred installation may differ depending on your platform. Please check the installation documentation of Rclone for further details.
Rclone is available in VUB-HPC clusters as well. You
can use by loading the rclone software module.
module load rclone
Configuration#
The configuration settings of Rclone have to be set in its configuration file.
Under Linux, it is located at ~/.config/rclone/rclone.conf. The following
configuration file contains the minimum settings needed by Rclone to connect to Pixiu:
[Pixiu]
type = s3
provider = Other
endpoint = pixiu.vub.be
access_key_id = YOUR_ACCESS_KEY
secret_access_key = YOUR_SECRET_KEY
bucket_acl = private
Alternatively you can run rclone config to set up a new remote.
Example interactive configuration of Rclone
$ rclone config
No remotes found, make a new one?
n) New remote
s) Set configuration password
q) Quit config
n/s/q> n

Enter name for new remote.
name> Pixiu

Option Storage.
Type of storage to configure.
Choose a number from below, or type in your own value.
 1 / 1Fichier
   \ (fichier)
 2 / Akamai NetStorage
   \ (netstorage)
 3 / Alias for an existing remote
   \ (alias)
 4 / Amazon S3 Compliant Storage Providers including AWS, Alibaba, ArvanCloud, Ceph, ChinaMobile, Cloudflare, DigitalOcean, Dreamhost, GCS, HuaweiOBS, IBMCOS, IDrive, IONOS, LyveCloud, Leviia, Liara, Linode, Magalu, Minio, Netease, Petabox, RackCorp, Rclone, Scaleway, SeaweedFS, StackPath, Storj, Synology, TencentCOS, Wasabi, Qiniu and others
   \ (s3)
 5 / Backblaze B2
   \ (b2)
...
Storage> s3

Option provider.
Choose your S3 provider.
Choose a number from below, or type in your own value.
Press Enter to leave empty.
 1 / Amazon Web Services (AWS) S3
   \ (AWS)
...
32 / Any other S3 compatible provider
   \ (Other)
provider> Other

Option env_auth.
Get AWS credentials from runtime (environment variables or EC2/ECS meta data if no env vars).
Only applies if access_key_id and secret_access_key is blank.
Choose a number from below, or type in your own boolean value (true or false).
Press Enter for the default (false).
 1 / Enter AWS credentials in the next step.
   \ (false)
 2 / Get AWS credentials from the environment (env vars or IAM).
   \ (true)
env_auth> false

Option access_key_id.
AWS Access Key ID.
Leave blank for anonymous access or runtime credentials.
Enter a value. Press Enter to leave empty.
access_key_id> YOUR_ACCESS_KEY

Option secret_access_key.
AWS Secret Access Key (password).
Leave blank for anonymous access or runtime credentials.
Enter a value. Press Enter to leave empty.
secret_access_key> YOUR_SECRET_KEY

Option region.
Region to connect to.
Leave blank if you are using an S3 clone and you don't have a region.
Choose a number from below, or type in your own value.
Press Enter to leave empty.
   / Use this if unsure.
 1 | Will use v4 signatures and an empty region.
   \ ()
   / Use this only if v4 signatures don't work.
 2 | E.g. pre Jewel/v10 CEPH.
   \ (other-v2-signature)
region>

Option endpoint.
Endpoint for S3 API.
Required when using an S3 clone.
Enter a value. Press Enter to leave empty.
endpoint> https://pixiu.vub.be

Option location_constraint.
Location constraint - must be set to match the Region.
Leave blank if not sure. Used when creating buckets only.
Enter a value. Press Enter to leave empty.
location_constraint>

Option acl.
Canned ACL used when creating buckets and storing or copying objects.
This ACL is used for creating objects and if bucket_acl isn't set, for creating buckets too.
For more info visit https://docs.aws.amazon.com/AmazonS3/latest/dev/acl-overview.html#canned-acl
Note that this ACL is applied when server-side copying objects as S3
doesn't copy the ACL from the source but rather writes a fresh one.
If the acl is an empty string then no X-Amz-Acl: header is added and
the default (private) will be used.
Choose a number from below, or type in your own value.
Press Enter to leave empty.
   / Owner gets FULL_CONTROL.
 1 | No one else has access rights (default).
   \ (private)
   / Owner gets FULL_CONTROL.
 2 | The AllUsers group gets READ access.
   \ (public-read)
   / Owner gets FULL_CONTROL.
 3 | The AllUsers group gets READ and WRITE access.
   | Granting this on a bucket is generally not recommended.
   \ (public-read-write)
   / Owner gets FULL_CONTROL.
 4 | The AuthenticatedUsers group gets READ access.
   \ (authenticated-read)
   / Object owner gets FULL_CONTROL.
 5 | Bucket owner gets READ access.
   | If you specify this canned ACL when creating a bucket, Amazon S3 ignores it.
   \ (bucket-owner-read)
   / Both the object owner and the bucket owner get FULL_CONTROL over the object.
 6 | If you specify this canned ACL when creating a bucket, Amazon S3 ignores it.
   \ (bucket-owner-full-control)
acl> private

Edit advanced config?
y) Yes
n) No (default)
y/n> n

Configuration complete.
Options:
- type: s3
- provider: Other
- access_key_id: MY_ACCESS_KEY
- secret_access_key: MY_SECRET_KEY
- endpoint: https://pixiu.vub.be
- acl: private
Keep this "Pixiu" remote?
y) Yes this is OK (default)
e) Edit this remote
d) Delete this remote
y/e/d> y

Current remotes:

Name                 Type
====                 ====
Pixiu                s3

e) Edit existing remote
n) New remote
d) Delete remote
r) Rename remote
c) Copy remote
s) Set configuration password
q) Quit config
e/n/d/r/c/s/q> q
Usage#
The documentation of Rclone
covers everything from the basic syntax of the rclone command to all the
subcommands available within it. Check it out!
Git LFS in Pixiu#
Git Large File Storage (LFS) replaces large files in your Git repositories (e.g. audio samples, videos, datasets, and graphics) with text pointers that can be easily handled by Git. You can select which of those files in your repository should be handled with LFS. Then the actual contents of those files are stored on a remote server suitable to store large files, which is different than the one used by your Git repository.
Pixiu can be used as remote LFS storage of your Git repositories by using an LFS agent that supports the S3 protocol. We recommend using LFS-S3 which works without any external server, seamlessly integrates with Git LFS and can connect to Pixiu.
Installation#
Installing Git LFS-S3 requires installing Git, Git LFS and LFS-S3 in your system. All these tools are well supported in multiple platforms, so we recommend following the instructions for your specific system in their official documentation.
Git LFS-S3 is readily available on VUB-HPC clusters as
well. You can use it by loading the git-lfs-s3 software module.
module load git-lfs-s3
Configuration#
The configuration of Git LFS-S3 is done in your repositories. You can enable Git LFS on selected repositories and configure each one of them to connect to different buckets in Pixiu or use different sub-folders in your buckets.
Recommended Start using Git LFS on a repository without any large files
already being tracked in the commit history. If you already have committed files
that you want to track with LFS instead, then you have to first migrate them
with git lfs migrate. See the manual for git-lfs-migrate.
Clone your Git repository locally as usual. The remote of your repository will not change once Git LFS-S3 is enabled.
$ git clone https://domain.com/path/to/your_repository
$ cd your_repository
Initialize Git LFS in your repository
$ git lfs install --local
Updated Git hooks.
Git LFS initialized.
These configuration changes are applied to the
.git/configfile in your repository.Enable LFS-S3 to use Pixiu as the remote storage for large files.
$ git config set lfs.standalonetransferagent $(which lfs-s3)
$ git config set lfs.customtransfer.lfs-s3.path $(which lfs-s3)
$ git config set lfs.customtransfer.lfs-s3.args '--access_key_id=YOUR_ACCESS_KEY --secret_access_key=YOUR_SECRET_KEY --bucket=YOUR_BUCKET --endpoint=https://pixiu.vub.be --region=be --root_path=BUCKET_SUBDIR'
Keep in mind to make the following replacements in the previous command:
YOUR_ACCESS_KEY and YOUR_SECRET_KEY with your credentials
YOUR_BUCKET with the name of your bucket in Pixiu
BUCKET_SUBDIR with the name of the folder in your bucket to use for the LFS contents in this repository
Warning
These settings are stored in the
.git/configfile in your repository. This means that your credentials will be exposed as clear text in your git configuration file. This is not dangerous as the.git/configfile stays local and is not pushed to the remote repository. But be careful in shared environments where other users might have access to this local repository.Optional Adjust the amount of concurrent transfers. The default is 8, which might be too much on systems with not so many CPU cores.
$ git config set lfs.concurrenttransfers 4
Usage#
Using a repository with Git LFS is quite similar to a regular Git repository. You just need to take care of defining which files should be handles by LFS.
Create rules to define which files will be tracked by Git LFS. You can use
*as wildcard to match certain file extensions or entire subfolders.$ git lfs track "*.jpg" Tracking "*.jpg" $ git lfs track "bigfiles/*" Tracking "bigfiles/*"
These configuration changes are applied to the
.gitattributesfile in your repository. You can now commit it.$ git add .gitattributes $ git commit -m "track JPGs and big files with LFS" [main de07f9d] track JPGs and big files with LFS 1 file changed, 2 insertion(+)
Commit any files in repository as usual. Files matching the LFS tracking rules will be handled by LFS.
$ git add README.md big-photo-01.jpg panorama-02.jpg

$ git commit -m "initial commit"
[main 8694e56] initial commit
3 files changed, 9 insertions(+)
The Git repository is now ready to use Pixiu to store Git LFS data. You can check the files in your repository currently tracked by Git LFS with the command
git lfs ls-filesand push any changes to your repo as usual withgit push.$ git lfs ls-files 9f7a4ac281 * big-photo-01.jpg 764db08c5b * panorama-02.jpg $ git push origin main Uploading LFS objects: 100% (2/2), 66 KB | 0 B/s, done. Enumerating objects: 5, done. Counting objects: 100% (5/5), done. Delta compression using up to 4 threads Compressing objects: 100% (3/3), done. Writing objects: 100% (4/4), 443 bytes | 73.00 KiB/s, done. Total 4 (delta 1), reused 0 (delta 0), pack-reused 0 (from 0) To https://domain.com/path/to/your_repository
Once the push completes, you should see in your bucket in Pixiu the compressed blobs with the contents of those files in your repository. The filename of each blob corresponds to the hash of the file reported by
git lfs ls-files.